How to Wash Tinted Windows Without Damage
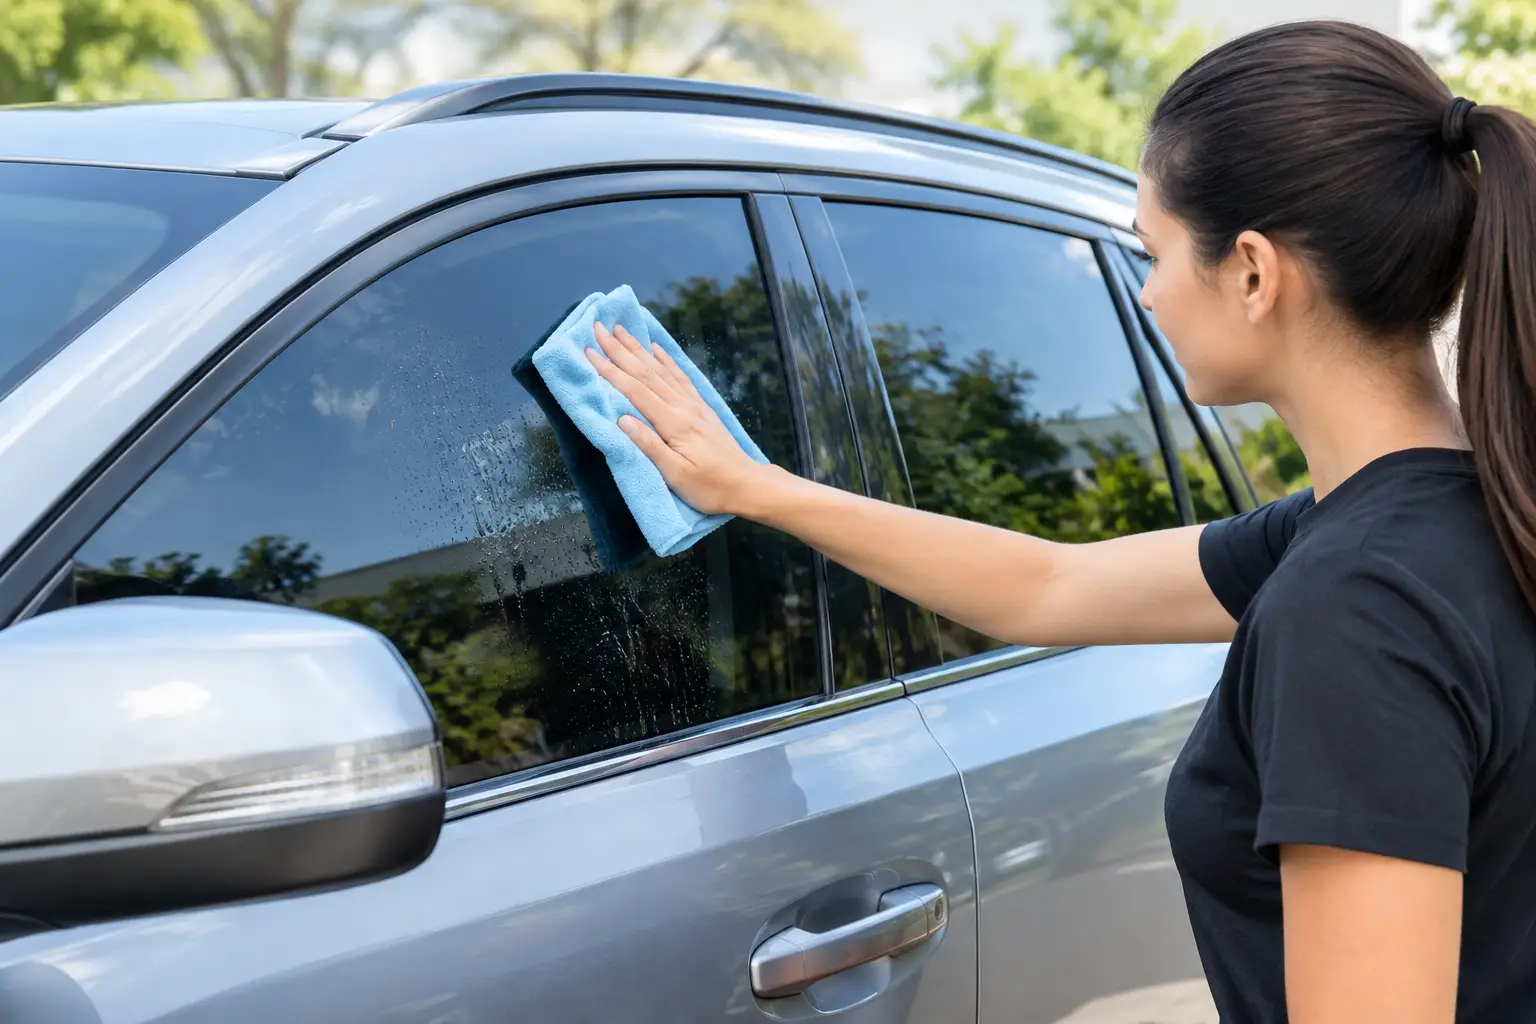
Fresh window tint should look crisp from every angle, not cloudy, streaked, or scratched after a quick cleanup. Knowing how to wash tinted windows properly protects the film’s finish, adhesive edges, and long-term clarity. The good news is that the process is simple once you stop treating tinted glass like untreated glass.
Most window tint film is installed on the inside of the vehicle. That means the interior surface deserves the most care, especially around the lower edge of the glass, the top edge on roll-down windows, and rear defroster lines. A harsh cleaner or rough towel may not ruin quality tint in one use, but repeated mistakes can leave haze, fine scratches, lifted edges, or discoloration that takes away from the look you paid for.
Start With the Right Window-Cleaning Supplies
The safest approach is not about using the strongest glass cleaner. It is about using a clean, tint-safe product with controlled technique. Gather your supplies before you begin so you are not reaching for a questionable household cleaner halfway through the job.
- An ammonia-free automotive glass cleaner or a mild tint-safe glass cleaner
- Two or more clean, high-quality microfiber towels - one for cleaning and one for drying
- A soft detailing brush or microfiber applicator for tight edges, if needed
- A clean spray bottle with distilled water for light dust and final touch-ups
Avoid cleaners that contain ammonia, abrasive powders, or strong solvents. Ammonia can dry out certain tint films and adhesives over time, while abrasive products can create visible marks in the film. Household paper towels are also a poor choice. They can leave lint behind and may feel rougher than they look, particularly when they pick up dust.
Quality microfiber matters. A towel that has been dropped on the garage floor, used on wheels, or washed with fabric softener can transfer grit or leave a greasy residue on the glass. Keep dedicated glass towels separate from the towels you use for paint, interior dressing, or dirty exterior work.
How to Wash Tinted Windows Step by Step
Work out of direct sunlight whenever possible. Hot glass causes cleaner to flash-dry before you can wipe it away, which creates the streaks many drivers blame on the tint itself. A shaded driveway or garage gives you more control and makes it easier to spot residue.
Remove loose dust before wiping
If the inside of the glass is dusty, do not immediately scrub it with a dry towel. Lightly mist the towel or glass with tint-safe cleaner first. The moisture lifts dust away from the film instead of dragging it across the surface.
For a lightly soiled window, distilled water on a clean microfiber may be enough. Save glass cleaner for fingerprints, road film, smoke residue, pet nose marks, and oily buildup. Using less product often produces a cleaner result because it reduces the chance of residue collecting near the edges.
Spray the towel, not the window, near edges
For the center of a fully cured tinted window, a light mist directly on the glass is usually fine. Around the borders, switches, door panels, speaker grilles, and dashboard, spray the microfiber towel instead. This prevents excess liquid from running into the tint edge or electrical components.
Use gentle, overlapping passes rather than aggressive pressure. Start near the top and work downward, folding the towel to a fresh side as it becomes damp or dirty. On roll-down windows, lower the glass slightly so you can clean the narrow strip that normally sits inside the weather seal. Let that area dry before raising the window.
Dry with a second microfiber towel
Follow with a separate, dry microfiber towel to remove remaining moisture. Wipe in straight, controlled passes and inspect the glass from more than one angle. Interior lighting can hide streaks that become obvious in morning sun or at night when headlights hit the glass.
If you see streaking, the problem is usually too much cleaner, a saturated towel, or residue from an interior dressing. Use a fresh towel with a minimal amount of cleaner, then dry again. Adding more product rarely fixes the issue.
Treat rear glass with extra care
Rear windows require a gentler touch because of defroster lines and, in some vehicles, antenna elements. Wipe along the direction of the lines rather than scrubbing across them. Excessive pressure or repeated aggressive cleaning can damage these delicate components, especially on older vehicles.
Do not use blades, razor scrapers, or abrasive pads on tinted rear glass. Even if a tool seems effective on bare glass, it can cut or scratch film quickly.
What Changes With Newly Installed Tint?
New tint needs time to cure. During installation, a solution is used to position the film, and some moisture can remain between the glass and film as it dries. Small water pockets, a slightly hazy appearance, or mild cloudiness can be normal during this period.
Do not wash the inside of newly tinted windows until the installer’s recommended cure time has passed. In many cases, that means waiting several days, though temperature, humidity, film type, and the season can affect the timeline. Metro Detroit weather can slow curing during cold or damp conditions, so a winter installation may need more patience than one completed during warm weather.
Avoid rolling the windows down too early as well. The glass moving through the window seals can disturb an edge before the adhesive has fully set. If your installer provides care instructions, follow those instructions over any general cleaning advice.
Common Mistakes That Shorten Tint Life
The biggest mistake is assuming any cleaner labeled “glass cleaner” is automatically safe. Check the label for ammonia. Blue-colored cleaner is not necessarily ammonia-based, and clear cleaner is not automatically tint-safe, so ingredients matter more than appearance.
Another issue is cleaning with whatever towel is nearby. A dirty microfiber can create fine scratches that show up as a dull, hazy pattern under sunlight. Wash microfiber towels without fabric softener, avoid high heat when drying them, and retire towels that feel stiff or contaminated.
Be cautious with interior protectants, too. Silicone-heavy sprays can overspray onto tinted glass and leave a greasy film that smears every time you try to clean it. Apply dressings directly to an applicator, not across the cabin, and clean the windows after detailing the dash and door panels.
Finally, do not pick at a lifting tint edge. A small edge issue can grow quickly when pulled. If film begins to peel, bubble unusually after the curing period, or develop a persistent haze, have a tint professional inspect it before trying DIY repairs.
Cleaning Exterior Glass on a Tinted Vehicle
Because window tint is typically applied inside the vehicle, washing the exterior glass is less restrictive. You can clean it during a normal hand wash using a pH-balanced car shampoo, clean wash media, and proper rinsing. Still, avoid abrasive glass polishing compounds unless you are certain they will not contact exposed film edges or trim.
The exterior glass can hold mineral deposits, tree sap, road grime, and winter salt that ordinary glass cleaner will not fully remove. Those issues may need a more specialized process. If you are unsure whether a stain is on the outside glass, inside tint, or between the film and glass, do not escalate to harsher chemicals. Diagnosis comes first.
Factory privacy glass and aftermarket window film are not the same thing. Factory-tinted glass has pigment built into the glass and generally tolerates standard automotive glass care better. Aftermarket film needs the ammonia-free, soft-towel approach described above. If you bought the vehicle used and are not sure which you have, treat it like film until you know otherwise.
Keep Tinted Windows Looking Clear Between Details
Clean tinted windows when you notice fingerprints or haze, not because a schedule says you must. Overcleaning with too much product can create more residue than it removes. For most daily drivers, a light interior glass cleaning every few weeks and a thorough cleanup during regular detailing is enough.
The goal is clear visibility and a finish that complements the rest of the vehicle, from protected paint to a clean interior. Careful washing takes only a few extra minutes, and it helps quality tint keep doing its job: reducing glare, improving privacy, and giving the vehicle a sharper, more finished appearance. When the film needs attention beyond a gentle clean, MYNT Customs can help you protect the result instead of risking it with trial and error.