How to Clean Leather Seats Without Causing Damage
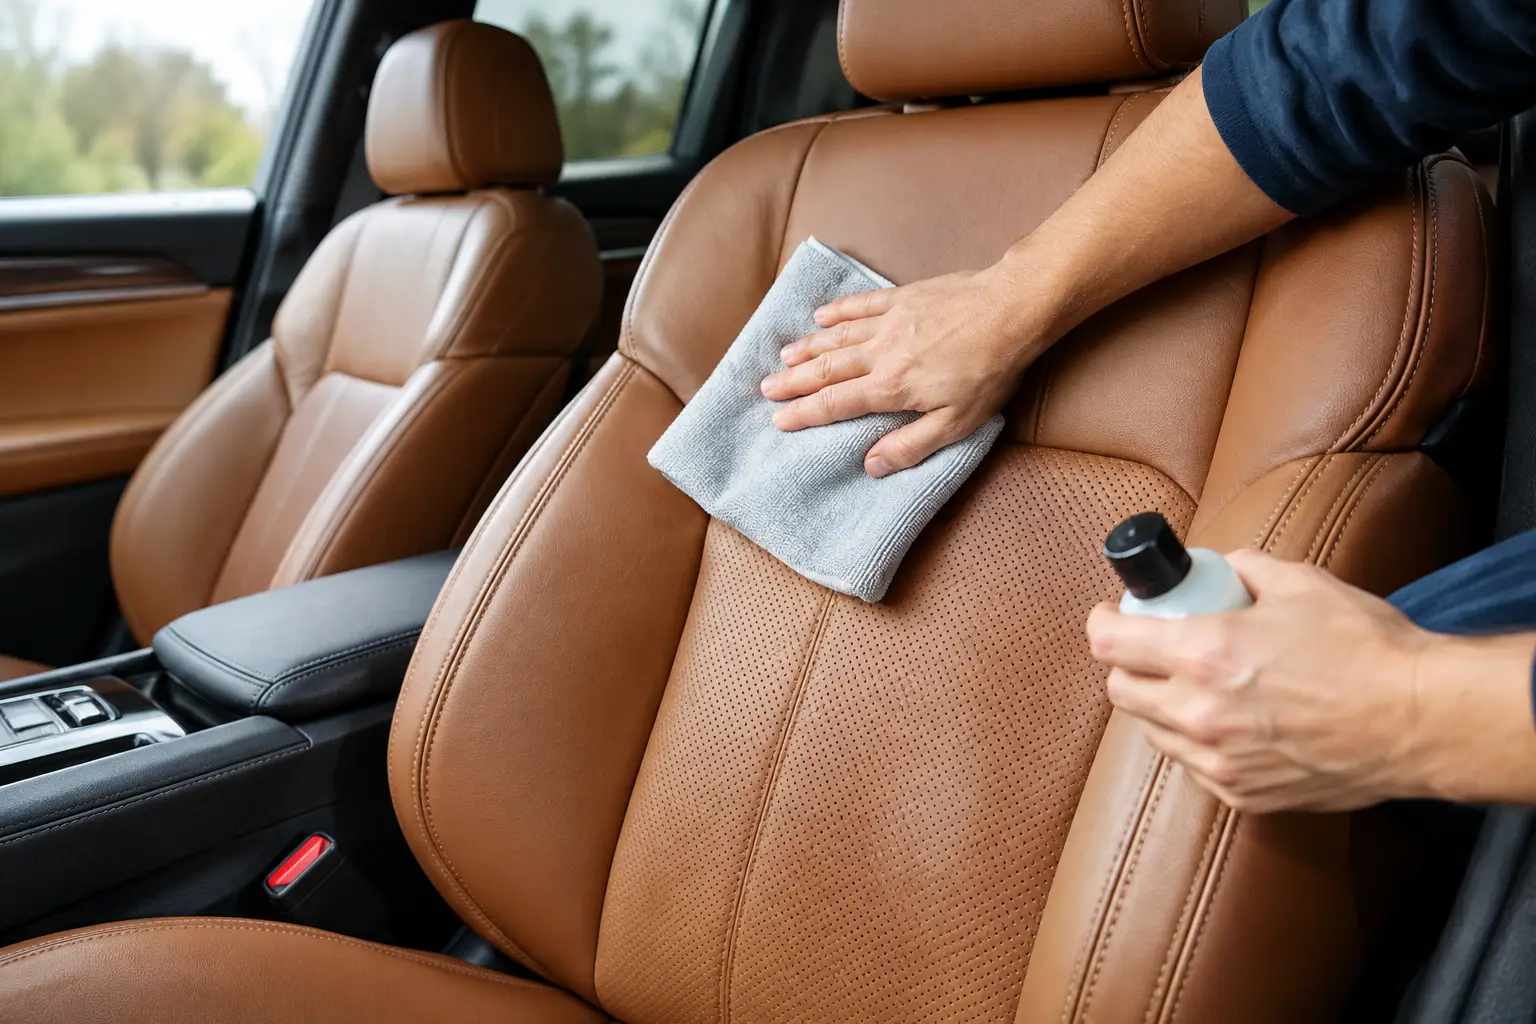
Leather seats rarely look dirty all at once. The change is gradual: a dull sheen on the bolsters, dark buildup along the stitching, light-colored seats that start to look gray, or a steering wheel-side seat cushion that feels slick instead of smooth. Knowing how to clean leather seats correctly helps remove that buildup without stripping the finish that protects the material.
Most modern vehicle leather is coated leather, not bare hide. That protective topcoat is designed to handle normal use, but it can still be damaged by harsh cleaners, aggressive scrubbing, excessive moisture, and products that leave a greasy residue behind. The goal is not to soak or shine the leather. It is to clean the surface thoroughly, preserve its natural look, and keep it comfortable for the long term.
How to Clean Leather Seats Safely
Start with a cool interior and work out of direct sunlight whenever possible. Heat can cause cleaners to dry before you can wipe them away, which may leave streaks or uneven results. If the vehicle has just been driven on a warm day, give the cabin time to cool first.
Vacuum the seats before applying any cleaner. Use a soft brush attachment and pay close attention to seams, perforations, seat tracks, and the narrow gaps between the seat cushion and backrest. Dirt and grit are not just cosmetic. If they are rubbed into the leather during cleaning, they can contribute to premature wear on high-contact areas.
For routine cleaning, use a pH-balanced leather cleaner made for automotive interiors. Spray it onto a microfiber towel or a soft leather brush rather than directly onto the seat. This gives you more control and prevents product from collecting in perforations, stitching, buttons, or electronic seat controls.
Work in small sections, using light pressure. On smooth leather, wipe with the grain of the material and use short, controlled motions. For textured leather or dirt trapped in creases, a soft brush can loosen buildup without scouring the surface. Follow immediately with a clean, dry microfiber towel to remove cleaner and lifted grime.
The most commonly neglected areas are the driver-side outer bolster, the front edge of the seat cushion, headrests, armrests, and door-side trim. These surfaces collect body oils, sunscreen, denim transfer, and everyday contact marks faster than the center panels. Clean them carefully, but avoid the temptation to scrub harder. Repeated abrasion can wear through the protective coating before the leather itself appears damaged.
What You Need Before You Start
A quality result does not require a cabinet full of products. You need a vacuum with a soft attachment, clean microfiber towels, a dedicated automotive leather cleaner, a soft detailing brush, and a leather protectant or conditioner appropriate for coated automotive leather.
Use separate towels for cleaning and final wiping. A towel that has already collected grime can put that contamination right back onto the seat. For light interiors, this simple step makes a noticeable difference in the finished appearance.
Avoid household cleaners, dish soap, glass cleaner, bleach, disinfecting wipes, and all-purpose degreasers unless the product specifically states it is safe for automotive leather. These products may clean aggressively, but they can also dry the surface, alter its finish, or weaken the coating over time. Silicone-heavy dressings should also be avoided. Leather seats should look clean and refined, not glossy or slippery.
Treating Common Leather Seat Stains
The right approach depends on what caused the mark. A general leather cleaner handles most routine grime, but certain stains need more patience and less moisture.
For food or drink spills, blot immediately with a dry microfiber towel. Do not rub the spill deeper into the grain. Once the area is dry, clean it lightly with leather cleaner and wipe away any residue. If a sugary drink has dried in a seam or perforation, use a minimally damp brush and microfiber towel rather than saturating the area.
For blue jean dye transfer, especially on white, beige, or light gray seats, begin with a dedicated leather cleaner and repeat gentle passes as needed. Fresh dye transfer is usually easier to remove than older staining. Strong solvents may seem like a quick fix, but they can remove or haze the coating along with the dye. If the transfer does not improve after careful cleaning, professional reconditioning is the safer route.
For ink, makeup, sunscreen, or oil-based residue, test any product on a hidden area first. Use a leather-safe spot treatment only when the standard cleaner is not enough. Apply it to a towel, not directly to the seat, and keep the work area small. The longer a stain sits, the more likely it is to migrate into the coating or stitching.
Mold, heavy body-oil buildup, deep discoloration, cracked coatings, and worn dye are different problems from ordinary dirt. Cleaning can improve the surface, but it cannot restore missing color or repair worn material. Those conditions may require professional interior detailing, leather repair, or color refinement.
Should You Condition Modern Automotive Leather?
Conditioning is helpful when it is done with the right product and at the right frequency. Many newer vehicles use coated leather that does not absorb conditioner the way older, uncoated leather does. In these cases, a lightweight leather protectant is often more useful than a heavy conditioner.
After cleaning, apply a small amount of leather protectant or conditioner to a clean applicator or microfiber towel. Spread it evenly, allow it to dwell according to the product directions, then buff away excess. The finish should feel clean and soft, not oily. If the seat becomes slick, shiny, or attracts dust quickly, too much product was used.
Protection is particularly valuable on driver seats and light-colored interiors because it helps reduce the adhesion of oils, sunscreen, and dye transfer. It also supports a more consistent factory-like finish between deep cleanings.
How Often Should You Clean Leather Seats?
For most daily drivers, a light vacuum and wipe-down every few weeks keeps dirt from becoming embedded. A more thorough leather cleaning every three to four months is a practical schedule. Vehicles with children, pets, frequent passengers, light interiors, or long commutes may need attention more often.
Metro Detroit weather can make interior maintenance more demanding. Winter road salt, wet clothing, slush, and temperature swings can all find their way into a vehicle cabin. During winter, remove salt residue from floor mats and lower seat areas promptly, and avoid letting moisture sit in seams or perforated leather.
The key is consistency. Gentle maintenance performed regularly is safer and more effective than waiting until the leather looks heavily soiled and requires aggressive correction.
When Professional Leather Care Makes Sense
Some interiors need more than a weekend wipe-down. If seats have deep staining, stubborn dye transfer, odor concerns, damaged coatings, or neglected buildup around perforations and seams, professional detailing can provide a more controlled result. This is especially worthwhile before selling a vehicle, returning a lease, or protecting the presentation of a newer luxury or performance vehicle.
At MYNT Customs, interior care is approached with the same attention to finish and long-term value as exterior protection. Proper products, controlled techniques, and realistic expectations matter because clean leather should still look like leather when the work is done.
A clean seat changes more than the appearance of the cabin. It makes every drive feel better, protects one of the most frequently used surfaces in your vehicle, and helps preserve the kind of condition that pays off when it is time to trade, sell, or simply enjoy the car you already own.