Lease Return Detailing Checklist That Pays Off
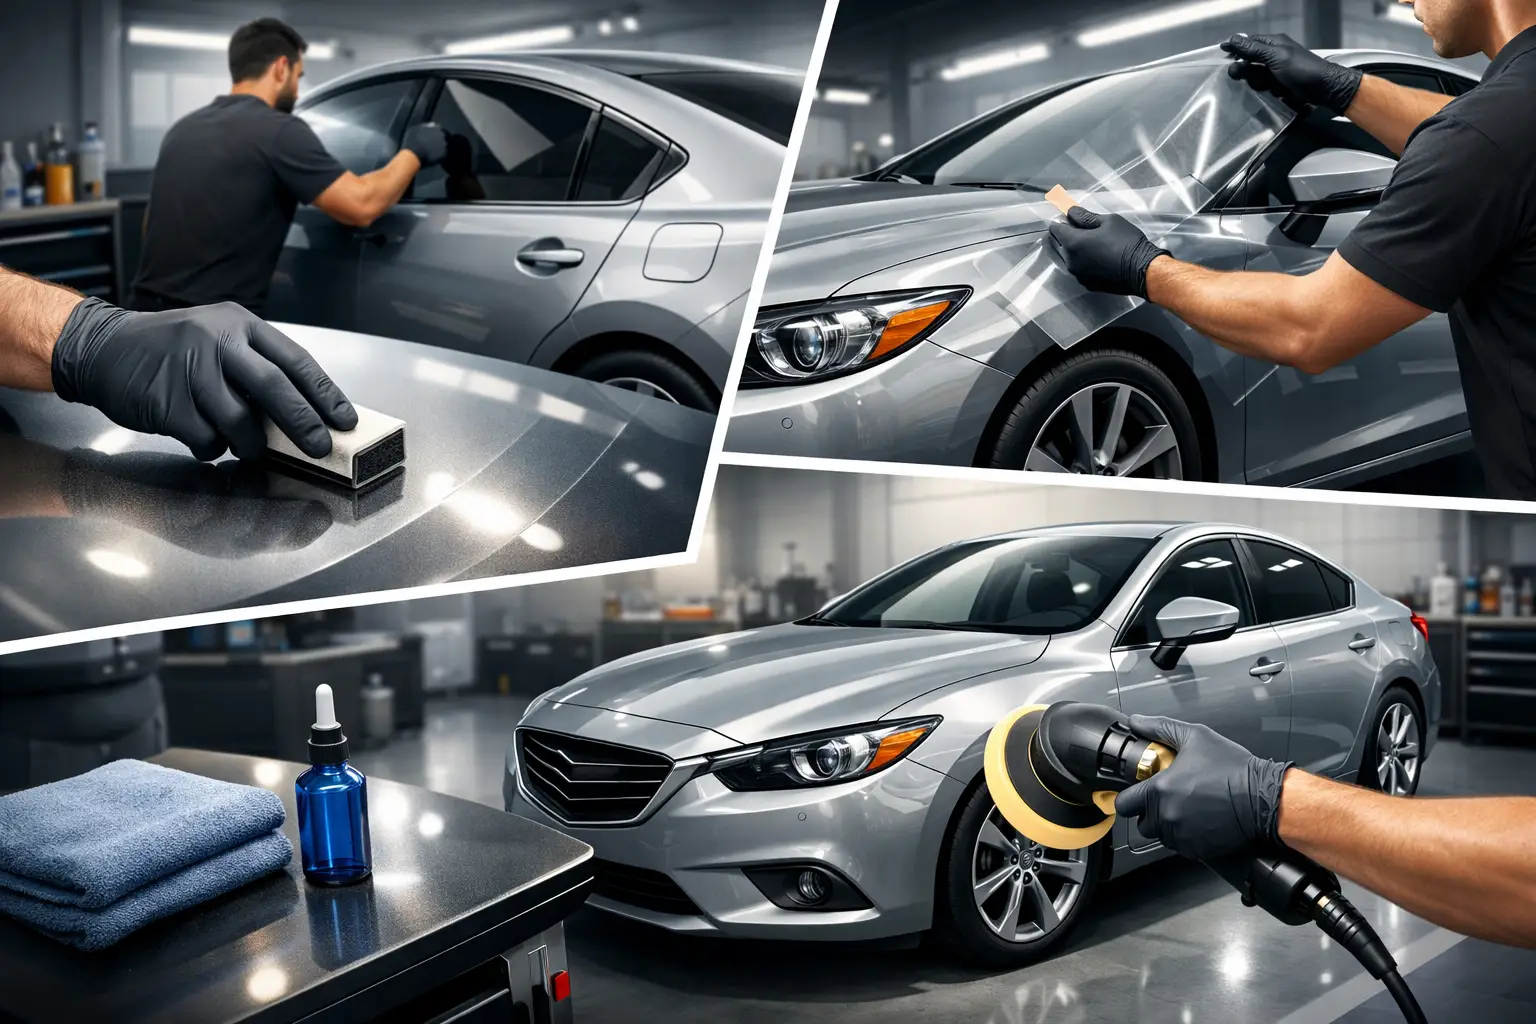
That last lease inspection can get expensive fast. A scuffed wheel, stained seat, pet hair in the cargo area, or cloudy headlights might seem minor during daily driving, but they can stand out once the vehicle is under review. A solid lease return detailing checklist helps you catch the issues that commonly lead to avoidable charges and gives you a clear plan before turn-in day.
The goal is not to make a used car look brand new. It is to return the vehicle in clean, well-kept condition, with normal wear presenting as normal wear instead of neglect. That distinction matters. When a car looks cared for, small imperfections tend to read differently than when they sit on top of dirt, odor, stains, and surface grime.
Why a lease return detailing checklist matters
Most lease agreements allow for reasonable wear, but the definition gets fuzzy in practice. Dirt can hide scratches, brake dust can make wheels look more damaged than they are, and interior stains can suggest deeper neglect even if the material itself is still in decent shape. Detailing before return is about presentation, but it is also about accuracy. You want the inspector to see the vehicle clearly, not through a layer of buildup.
There is also a cost question. A professional detail is usually far less expensive than multiple end-of-lease charges, but it is not automatic that every service makes financial sense. If the paint has severe body damage or the interior has torn upholstery, detailing alone will not erase those issues. The smart move is to clean and recondition what can realistically improve the inspection outcome, then decide whether any repairs are worth doing.
Start with a pre-inspection walkaround
Before washing anything, walk around the vehicle in daylight and note what stands out. Look at the front bumper, hood edge, mirror caps, door edges, trunk lip, and wheels first. Those are common impact zones. Then check the windshield for chips, the headlights for haze, and the lower rocker panels for tar and road film.
Inside the cabin, check the driver seat bolster, carpet under the mats, rear seat backs, center console, door panels, and cargo area. Smell the interior with the doors closed for a minute before opening them again. Smoke residue, food odor, and pet odor tend to become obvious that way.
Take photos during this stage. Not because you expect a problem, but because it helps you decide what needs simple cleaning, what needs reconditioning, and what may need repair beyond detailing.
Exterior lease return detailing checklist
A proper exterior detail should do more than add shine. It should remove the grime and contamination that make wear look worse than it is.
Wash and decontaminate the paint
Start with a thorough hand wash that safely removes road film, bug residue, and surface dirt. In Metro Detroit, winter grime and salt buildup can leave paint looking rough long after the roads clear. If that contamination stays in place, the finish can feel dull and neglected even when the paint itself is still in fair shape.
After the wash, decontamination matters. Iron remover, clay treatment, and tar removal can pull embedded debris from the surface. This step often makes a bigger difference than people expect, especially on light-colored vehicles and lower body panels.
Address light scratches and paint transfer
Not every mark is permanent damage. A surprising amount of what looks serious at first glance is actually paint transfer, scuffing, or surface-level marring. A light machine polish or spot correction can improve gloss and reduce the visibility of minor defects.
This is where judgment matters. If the vehicle has deep scratches through the clear coat or dents with broken paint, polishing will not fix that. But for wash marring, light door-handle scratches, and superficial scuffs, correction work can clean up the overall presentation significantly.
Clean wheels, tires, and wheel wells
Wheels tend to collect the kind of buildup that makes inspectors look twice. Brake dust, browning on tires, and grime in the wheel wells can make a vehicle appear older and less maintained than it really is.
Clean the wheel faces, barrels, lug areas, and tire sidewalls thoroughly. Dress the tires lightly, not excessively. A clean satin finish looks maintained. A greasy, overly shiny tire dressing can have the opposite effect.
Restore trim and clear lenses
Faded exterior trim and cloudy headlights can drag down the whole vehicle. Trim restoration and headlight polishing are often worthwhile before a lease return because they improve the impression of overall care without major cost.
If your headlights are severely oxidized inside the lens, replacement may be the only full fix. But if the haze is surface-level, restoration can make a meaningful difference.
Interior lease return detailing checklist
The interior is where many lease returns lose points unnecessarily. Stains, odor, sticky surfaces, and pet hair all signal poor upkeep, even when the materials are structurally fine.
Deep clean carpets, mats, and upholstery
Floor mats and carpets take the most abuse and are often the first place an inspector notices salt, staining, or embedded debris. Remove the mats, vacuum thoroughly, and shampoo or extract as needed. Pay close attention to the driver's footwell and rear seating area.
For cloth seats, spot cleaning may not be enough if there are drink stains or visible discoloration. For leather or coated leather surfaces, use the correct cleaners and conditioners. The goal is a clean, natural finish - not a slippery, glossy surface.
Remove pet hair, dust, and debris from edges
Pet hair in seat seams, cargo carpet, and trunk trim is one of the most stubborn lease return issues. It also tends to make the vehicle feel less cared for overall. The same goes for dust packed into vents, crumbs in seat tracks, and debris along console edges.
These details matter because inspectors notice them quickly. A cabin that feels clean at first glance creates a stronger overall impression, even before any paperwork gets reviewed.
Clean hard surfaces without leaving residue
Wipe down the dash, door panels, steering wheel, console, cupholders, and touchpoints with products that clean effectively without leaving greasy residue. Shiny plastic interiors rarely look premium after a detail. Clean, matte, factory-like surfaces do.
Also check commonly missed areas like door jambs, trunk jambs, visor mirrors, the infotainment screen, and the area around shifter trim.
Eliminate odor at the source
Air freshener is not a solution for lease return prep. If the cabin smells like smoke, pets, mildew, or spilled food, the cause needs to be treated directly. That may mean fabric extraction, enzyme treatment, cabin filter replacement, or ozone treatment depending on the source.
Odor can be one of the hardest issues to ignore during inspection. If the smell is obvious, it is worth addressing properly before turn-in.
Don’t forget the overlooked areas
A few smaller details can make the car feel noticeably more complete. Clean the glass inside and out so there is no haze or smoker's film. Wipe down the trunk or cargo area, including side panels and storage compartments. Remove personal items, aftermarket accessories you plan to keep, and any trash tucked into pockets or under seats.
If the engine bay is heavily dusty, a light cosmetic cleaning can help, but this is one area where overdoing it is unnecessary. You want a tidy, maintained look, not a freshly dressed engine that raises questions.
What detailing can fix and what it can’t
Detailing is highly effective for dirt, stains, light oxidation, odor, minor scratches, and general reconditioning. It is not a substitute for bodywork, wheel repair in severe cases, cracked glass replacement, torn upholstery repair, or mechanical fixes.
That is why timing matters. Ideally, schedule your detail after you know the vehicle's condition but before final turn-in. That gives you room to decide whether a few extra repairs make sense. If the inspector is coming tomorrow, you may not have enough time to do anything beyond surface cleanup.
Should you detail it yourself or hire a professional?
It depends on the vehicle's condition, your tools, and how close you are to turn-in. If the car is already in decent shape and just needs a careful cleaning, a DIY approach may be enough. If there is salt buildup, pet hair, interior staining, odor, light paint correction needs, or neglected trim, professional detailing usually delivers a stronger return.
That is especially true if you are trying to reduce the appearance of wear rather than just remove dirt. Professional tools, lighting, and correction methods can uncover what is fixable and improve it efficiently. For many lease holders, that means less guesswork and a better chance of avoiding cleanup-related charges.
Final check before turn-in
Once the detailing is done, do one more walkaround. Look for streaks on glass, missed dust in vents, residue in cupholders, and dirt around emblems or license plate areas. Make sure the trunk is empty, the mats are clean and dry, and the cabin smells neutral.
A lease return rarely rewards last-minute shortcuts. The cleaner and more complete the vehicle looks, the easier it is for normal wear to stay in the normal category. If you give the car back looking obviously maintained, you put yourself in a better position before anyone starts writing down charges.