How to Remove Swirl Marks Safely From Paint
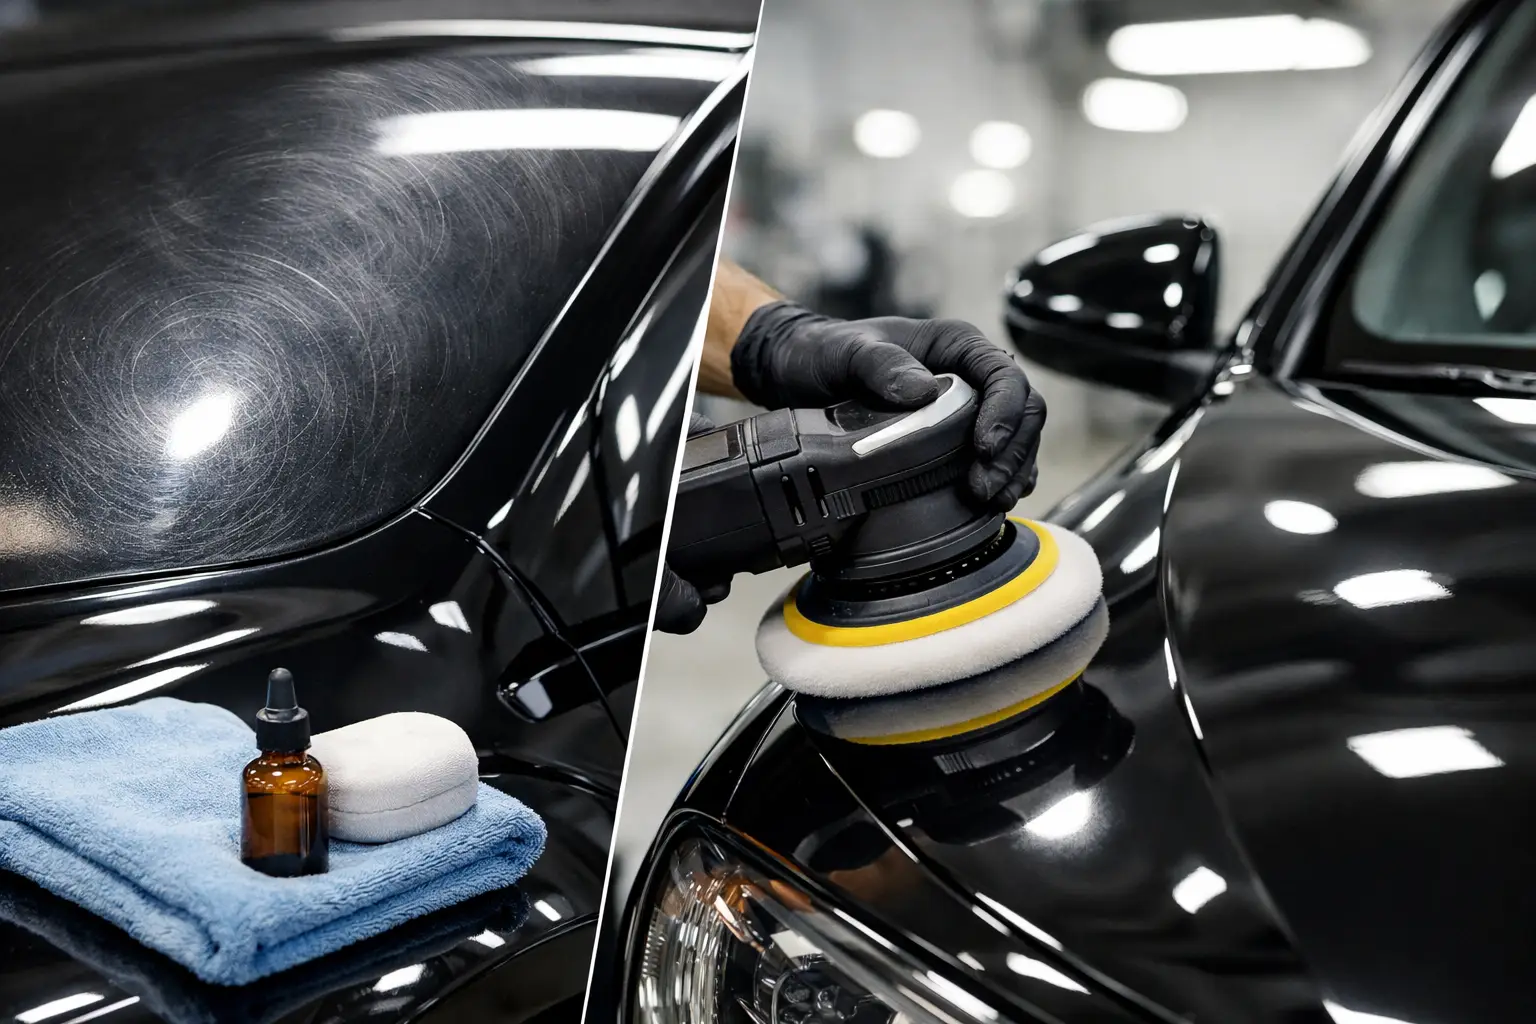
Swirl marks are most obvious when the sun hits your paint at the wrong angle. What looked clean in the driveway suddenly shows circular scratches around reflections, especially on black, dark blue, and other deep colors. Learning how to remove swirl marks safely is less about using the strongest product and more about removing only the minimum amount of clear coat needed to restore clarity.
The safe approach starts with a clean surface, a measured correction process, and protection that prevents the same damage from returning. Done correctly, paint correction can bring back gloss without trading short-term shine for long-term paint health.
What Swirl Marks Actually Are
Most swirl marks are fine scratches in the clear coat, not damage that has gone through the paint itself. They scatter light instead of reflecting it evenly, which creates the hazy, spiderweb appearance visible under direct sun, LED lighting, or gas station lights.
They are commonly caused by washing and drying with dirty towels, using automatic brush washes, wiping dusty paint dry, or using a harsh polish with an aggressive pad. Even a vehicle that is washed often can develop swirls when the wash process drags grit across the surface.
Because these defects are usually in the clear coat, they can often be corrected. The key word is often. Deep scratches that catch a fingernail, rock chips, failing clear coat, and prior poor repairs may require a different solution than polishing alone.
How to Remove Swirl Marks Safely: Start With Inspection
Do not begin polishing as soon as you notice swirls. First, inspect the paint in direct sunlight or under a focused inspection light. This reveals whether you are dealing with mild wash marring, moderate swirls, deeper random scratches, oxidation, or a mix of several defects.
Paint condition matters as much as paint color. A newer vehicle may have enough clear coat for a careful one-step polish, while an older vehicle with previous correction work or body-shop repainting may need a more conservative plan. A professional paint depth gauge provides useful data, but even without one, a test spot is essential.
Choose a small, representative section of paint, usually about two feet by two feet. Correct that area first, then inspect it in multiple lighting conditions. This lets you identify the least aggressive combination of pad, polish, machine speed, and number of passes that produces the result you want.
A perfect finish is not always the safest finish. On a daily driver, removing 70 to 90 percent of visible defects while preserving clear coat is often a smarter long-term choice than chasing every isolated scratch.
Wash and Decontaminate Before Polishing
Polishing dirty paint can create more scratches than it removes. Thorough wash preparation is non-negotiable.
Start with a pH-balanced automotive shampoo, quality wash mitt, and clean microfiber drying towels. Rinse thoroughly first to remove loose grit. Use good wash technique, work from the upper panels downward, and avoid reusing a dropped mitt or towel. If the paint has embedded contamination, use a dedicated chemical decontamination product and, if needed, a clay treatment with proper lubricant.
After decontamination, the paint should feel smooth. That smoothness is important because bonded particles can interfere with the polishing pad and leave fresh marring. Dry the vehicle completely, including seams, mirrors, trim edges, and emblems. Water escaping during correction can dilute product and make cleanup harder.
Mask unpainted plastic trim, vulnerable edges, textured moldings, and badges before machine polishing. Polish residue can stain trim, while sharp panel edges generally have less paint and should receive minimal pressure.
Select the Least Aggressive Correction Method
For light swirls, a finishing polish paired with a soft foam pad may be enough. This combination refines the clear coat and improves gloss without removing more material than necessary. It is often the right starting point for a well-kept vehicle with light wash marring.
Moderate defects may call for a medium-cut polish and a polishing or light-cut pad, followed by a finishing step to maximize clarity. Heavier swirls and scratches can require a compound and firmer pad, but this is where experience becomes especially valuable. Aggressive correction can remove defects quickly, but it also removes more clear coat and may leave haze that needs further refinement.
A dual-action polisher is the safer machine choice for most enthusiasts. Its motion reduces the risk of concentrated heat compared with a rotary machine. That does not make it risk-free. Holding the machine in one spot, using a dry pad, applying too much pressure, or working on thin edges can still damage paint.
Use clean pads throughout the job. As a pad loads with spent polish and paint residue, it cuts less consistently and can reintroduce marring. For a full vehicle correction, multiple pads are not a luxury. They are part of a controlled process.
Use a Controlled Polishing Technique
Prime the pad lightly with product, then use a few small drops for each section. Spread the polish at low speed before increasing to the working speed recommended for the pad and product. Keep the pad flat against the panel and use overlapping passes in a slow, deliberate crosshatch pattern.
Avoid leaning heavily into the machine. Moderate, consistent pressure is more effective and safer than forcing the pad into the paint. Let the polish and pad do their job. Once the product has been worked through its usable cycle, wipe the section gently with a clean, soft microfiber towel.
Inspect the result before moving on. Some polishes contain oils that can temporarily fill very light defects, so a proper panel wipe helps reveal the true finish. If swirls remain, adjust one variable at a time. You might increase the number of passes, change to a slightly more corrective polish, or use a different pad. Changing everything at once makes it difficult to know what worked.
Be especially cautious around body lines, door edges, bumpers, and repainted panels. Heat builds faster on edges, and paint thickness can vary significantly after repairs. These areas should receive lighter pressure, fewer passes, or hand polishing when appropriate.
Common Shortcuts That Put Paint at Risk
A quick fix can look good for a few days and still make the finish worse over time. Avoid these common mistakes:
- Using household abrasives, scouring pads, or magic erasers on automotive paint.
- Applying compound by hand with excessive pressure in an attempt to remove deep scratches.
- Polishing a hot panel in direct sunlight.
- Reusing contaminated towels, pads, or wash mitts.
- Using glaze or filler products as a substitute for true correction when durable results matter.
Glazes can be useful for a temporary appearance boost, particularly before a show or sale, but they do not remove the underlying defects. If the goal is long-term gloss, properly measured correction followed by protection is the better path.
Protect the Finish After Swirl Removal
Once the paint has been corrected, protection helps preserve the work. A quality sealant, ceramic coating, or paint protection film serves a different purpose, and the best choice depends on how the vehicle is used.
A sealant is a practical option for owners who want good gloss and water behavior with routine reapplication. A ceramic coating offers stronger chemical resistance, easier maintenance, and a high-gloss finish when properly installed and cared for. It does not make paint scratch-proof, but it can reduce the effort required to keep the vehicle clean and helps protect the corrected surface from environmental exposure.
Paint protection film is the more appropriate solution for high-impact areas such as the front bumper, hood, fenders, mirror caps, and rocker panels. It is designed to absorb the damage that polishing cannot fix, including chips, scuffs, and road debris impacts. Many Metro Detroit drivers choose a combination of PPF on vulnerable front-end areas and ceramic coating over the remaining painted surfaces.
Keep New Swirls From Coming Back
The best correction is the one you do not need to repeat often. Hand washing with clean tools, using separate buckets or a rinseless wash method with plenty of clean microfiber towels, and drying with a dedicated plush towel or filtered air will make a real difference.
Do not wipe dust, salt film, or pollen from dry paint. A quick detailer can provide lubrication for light fingerprints, but it is not a replacement for washing a dirty vehicle. During Michigan winters, frequent gentle rinsing and careful wash practices are especially valuable because road salt and grime can become highly abrasive.
If your vehicle has heavy swirls, unknown paint history, or delicate paint, professional paint correction is the safer investment. MYNT Customs can evaluate the finish, recommend an appropriate correction level, and protect the result so your vehicle stays sharp long after the first reveal.